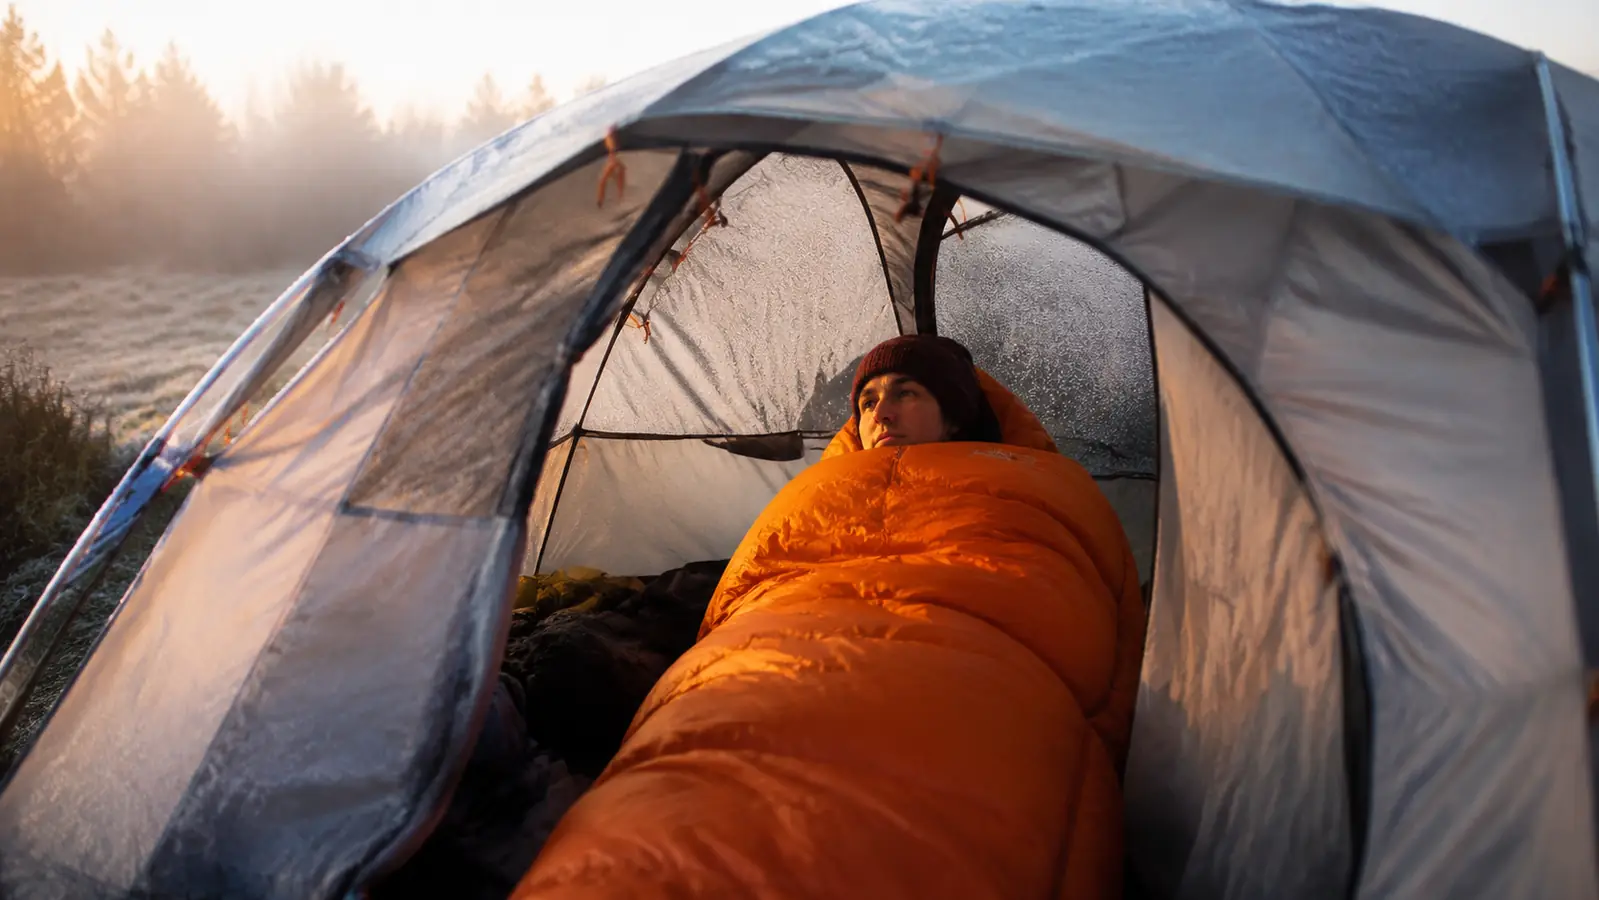
I spent a miserable October night in the Smokies about twelve years ago because I trusted a cheap rectangular sleeping bag and a thin foam pad. Temps dropped to 34 degrees and I was awake every hour pulling on every piece of clothing I had packed. I got through it, but I swore I'd never set up like that again. Since then I've dialed in a full cold-weather sleeping system that works from late October through early March, down to around 28 degrees with the right bag underneath. The MalloMe sleeping bag sits at the center of that system, and I'll walk you through every step of setting it up so you don't repeat my Smokies mistake.
The problem most people have isn't that they bought the wrong sleeping bag. It's that they treat the bag like the only variable. The bag rating assumes perfect conditions: dry air, a good sleeping pad, and the right base layer. Shortcut any of those and the bag's comfort rating is useless. Here's how to build the full system from the ground up.
If your sleeping bag isn't rated below freezing, tonight could be a long one.
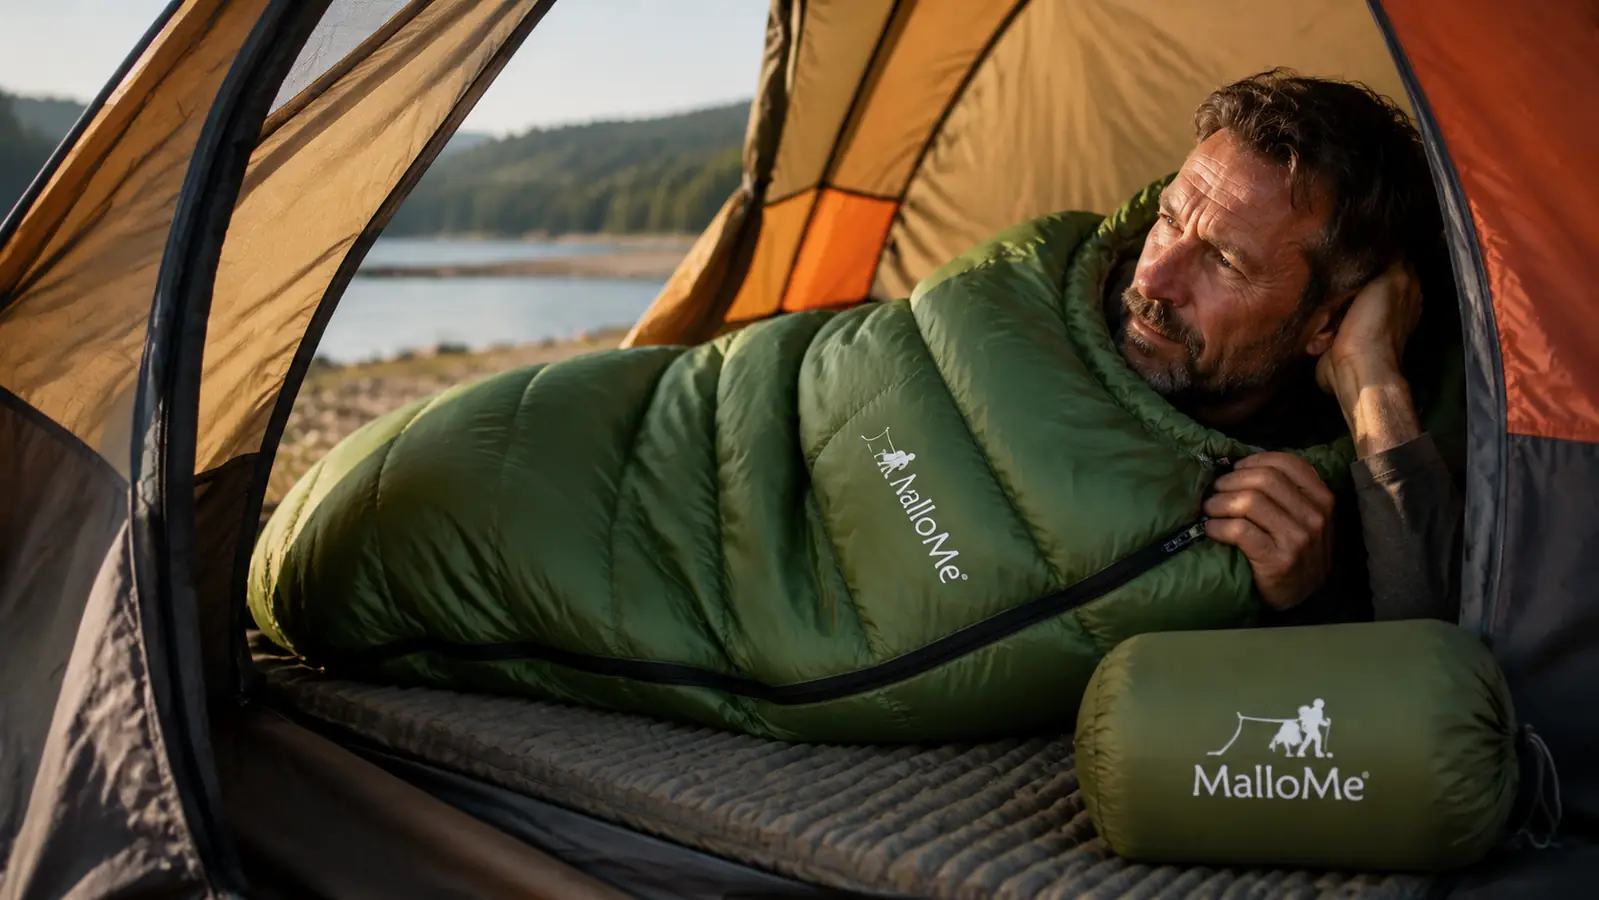
The MalloMe sleeping bag is rated to 32 degrees, packs down to the size of a Nalgene, and has over 16,500 Amazon ratings. It's the recommended bag for this whole system.
Amazon Check Today's Price on Amazon →Step 1: Start with Your Sleeping Pad, Not Your Bag
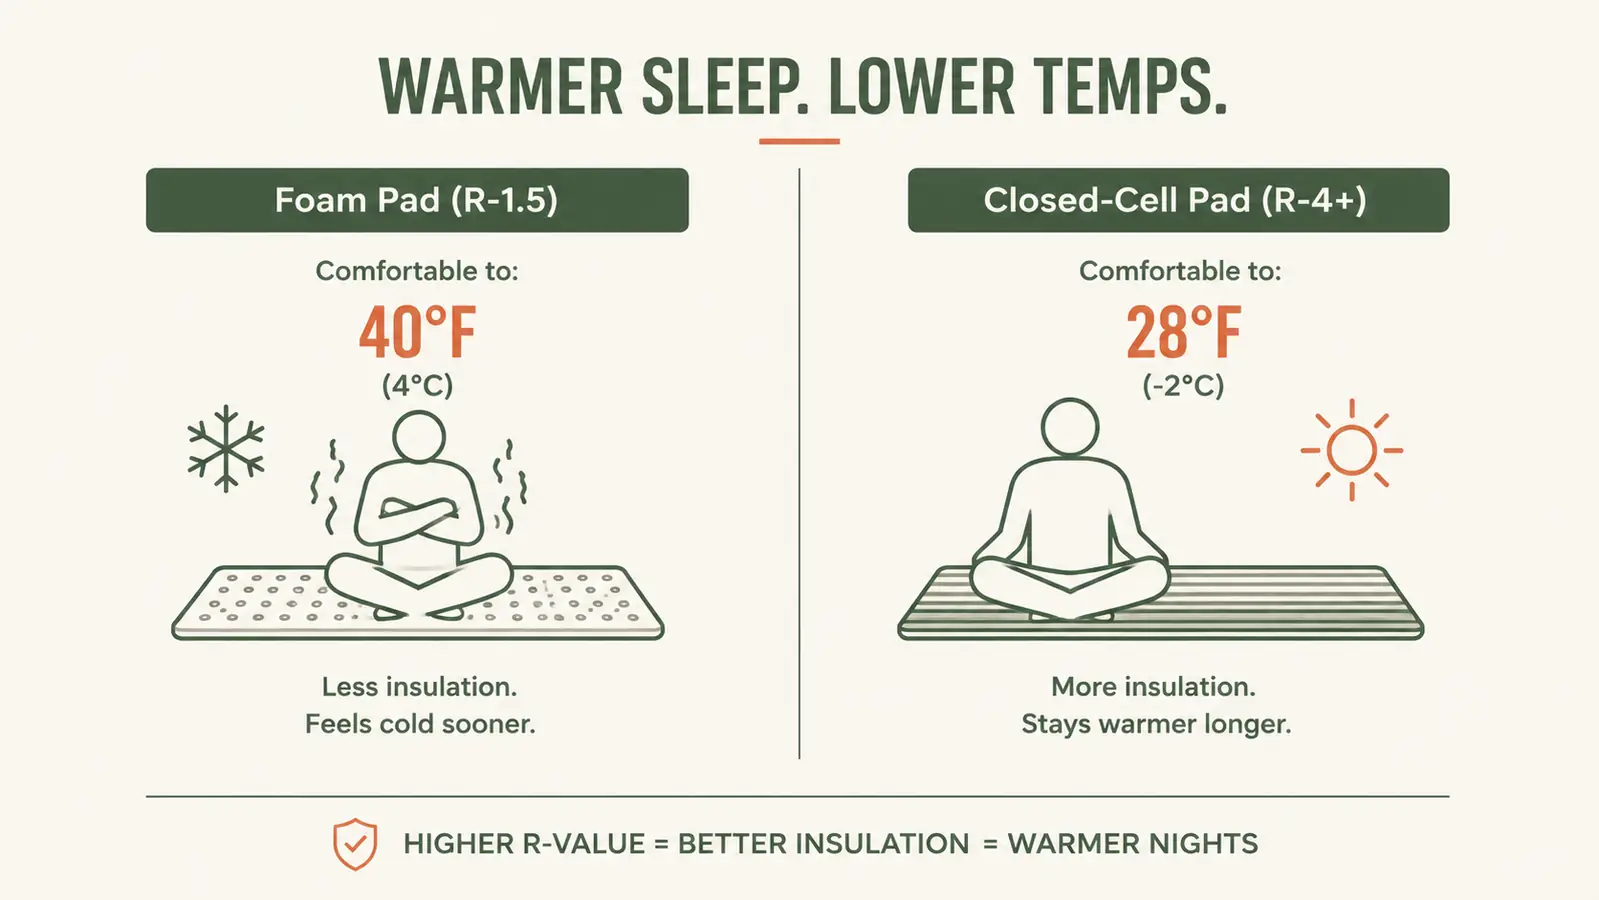
Ground cold kills faster than air cold. If you don't have at least an R-2 sleeping pad under you, even the best sleeping bag in the world loses its battle from below. The ground pulls heat out of your body continuously all night. A thin blue foam camping pad from 1998 has an R-value around 1.5. That's fine for summer. Once you're below 45 degrees at night, you need something with an R-value of at least 3.5, and ideally 4 or higher.
I use a closed-cell foam pad under a budget inflatable when I'm car camping in cold weather. The foam goes down first as a barrier against the cold and punctures, and the inflatable adds comfort on top. Total R-value lands around 5. If you only want to carry one pad, a closed-cell foam pad with an R-value of 4 or higher is the most reliable and the hardest to destroy. An air pad that pops at midnight in 35-degree weather is a hard lesson.
Do not skip this step and compensate by buying a warmer bag. The bag goes on top of you. The pad goes under you. Both have to do their jobs.
Step 2: Choose the Right Sleeping Bag for Your Temperature Range
For three-season camping down to around 32 degrees, the MalloMe sleeping bag is the bag I recommend without reservation. It's a mummy-cut bag with a 32-degree comfort rating, a full-length zipper, hood with drawstring, and a compression stuff sack that packs it down to about the size of a football. I've taken mine into the field probably thirty times across two fall hunting seasons and three winter camping trips, and it's held up. The shell fabric is durable enough to handle being stuffed and pulled out repeatedly.
Mummy cut is not optional when you're camping cold. A rectangular bag has too much dead air space at the foot box and sides. Your body has to heat all that air to stay warm. A mummy bag pulls the insulation tight around you, eliminates dead air, and keeps the hood cinched around your face where you lose most of your heat. If you're still sleeping in a rectangular bag below 45 degrees, that's the first thing to change. Read the full breakdown in 10 reasons a mummy bag outperforms a rectangular bag on real trips.
Buy a bag rated at least 10 degrees below the coldest temperature you expect to camp in. If you're going out when it might hit 35 at night, you want a 25-degree bag. The MalloMe's 32-degree rating puts it right at the edge of serious fall camping, which is why the rest of this system matters. Layer the other steps correctly and you'll sleep comfortably at 32. Skip them and you'll feel that edge.
Step 3: Wear the Right Base Layer to Bed
What you sleep in matters as much as what you sleep under. The bag is insulation. Your body is the heat source. If you're wearing damp cotton from the day's hiking and sweat, the bag is working against wet insulation against your skin. That's how you get cold even in a bag with a good rating.
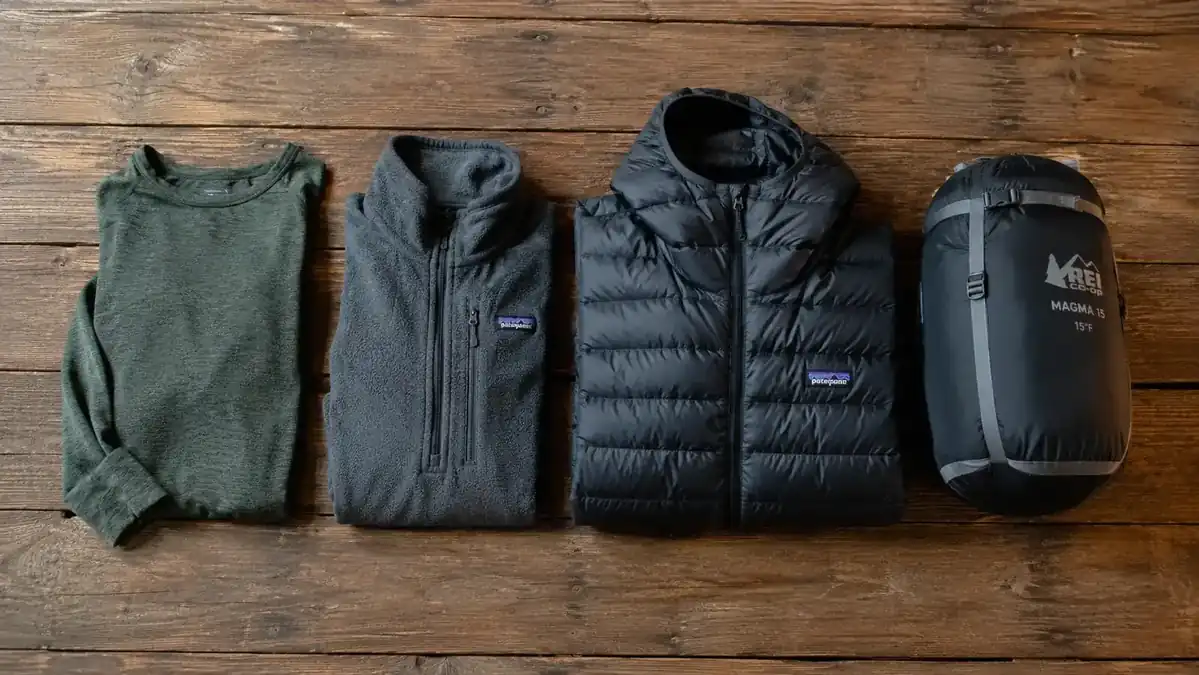
Change into dry clothes before you get into the bag, every time, no exceptions. A dry merino wool or synthetic base layer makes a real difference because both fabrics wick moisture and retain some insulating value even if you sweat in the night. I keep a dedicated set of sleep clothes in a dry bag inside my pack so they're never damp when I need them. A wool beanie to sleep in adds meaningful warmth because your head is where most of your heat escapes if the hood isn't tight.
Wool socks to sleep in are worth mentioning specifically. Cold feet are the number one reason people can't sleep on a cold camping trip. Put on fresh dry socks before you zip up and pull the hood tight. The foot box of a mummy bag can get cold if your feet were already cold when you got in. Warm them up first with a short walk or some jumping jacks.
Change into dry clothes before you get into the bag, every time, no exceptions. A dry base layer is worth more than an extra 10 degrees on the bag's rating.
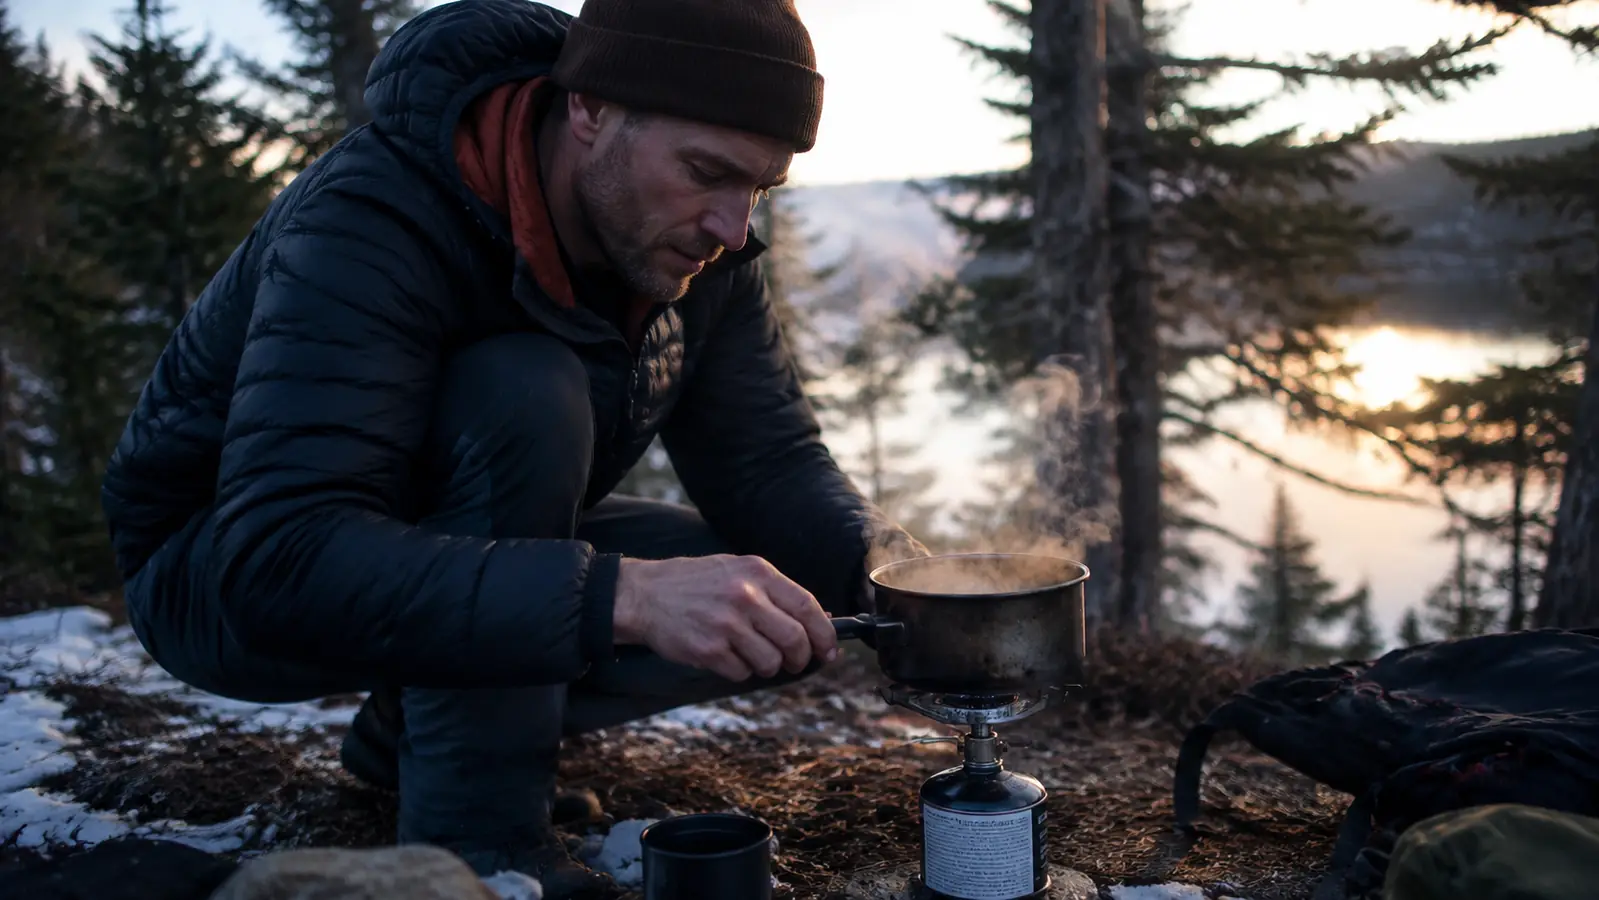
Step 4: Eat Before You Sleep and Drink More Water Than You Think You Need
Your body generates heat by burning calories. If you go to bed hungry, you go to bed cold. A real meal one to two hours before sleep, heavy on fat and protein, gives your body the fuel it needs to stay warm through the night. I don't care what your meal plan looks like on warm trips. When temps are dropping toward freezing, eat well before you zip up. A handful of peanuts or a couple protein bars as a pre-sleep snack is a real difference-maker.
Dehydration makes you colder faster. Most people are mildly dehydrated by the time they hit the sleeping bag because they didn't drink enough during the day. Hydrated blood circulates more efficiently to your extremities. Cold hands and feet in camp are often dehydration as much as temperature. Drink water throughout the day and have another 8 to 12 ounces before bed. Yes, you may have to get up in the night. Worth it.
Step 5: Set Up Your Tent to Trap Heat, Not Leak It
A good tent does three things in cold weather: blocks wind, manages condensation, and holds some of your body heat inside. Wind is the biggest threat because it strips warmth off the tent wall and dramatically accelerates heat loss through the fabric. Pitch your tent with the door facing away from the prevailing wind. If you have trees or a ridgeline to tuck behind, use them.
Condensation is the sneaky problem in cold-weather camping. Warm air from your breath hits the cold tent wall and turns to water. By morning, the inside of the tent can be damp enough to wet your bag. Crack the vent slightly even in cold temps to let moist air escape. A wet sleeping bag loses 50 to 70 percent of its insulating value depending on fill type. The MalloMe uses synthetic fill, which is a real advantage here: synthetic insulation holds more of its warmth when damp compared to down. But you still want the tent breathing.
Do not sleep with your head buried inside the sleeping bag. Moisture from your breath will dampen the fill near your face and chest. Use the hood drawstring to seal the bag around your face, not over it. Your mouth and nose stay outside the bag.
What Else Helps: The Extras That Make or Break Cold Nights
A hot water bottle is one of the oldest tricks in cold-weather camping and it still works. Fill a Nalgene with boiling water from your stove right before bed. Wrap it in a wool sock and put it at the foot box of your sleeping bag. It radiates heat for two to three hours, which is exactly when you need it most as your body temperature is still adjusting to the cold. You wake up with warm feet and a bottle of drinkable water in the morning.
Hand warmers tucked into your bag can extend comfort by a few degrees if you're right at the edge of the bag's rating. I use them at the foot box and sometimes against my core when I'm pushing into colder temps. Chemical hand warmers burn for 8 to 12 hours at around 130 degrees. They're cheap insurance when you're borderline.
If you're interested in more detail on how the MalloMe performs across different conditions and temperature ranges, the honest review of the MalloMe sleeping bag goes through the full field breakdown including where it falls short and who should look at other options. That's worth reading before your first cold trip with this bag.
The right sleeping bag makes all the other steps easier.
The MalloMe sleeping bag is rated to 32 degrees, uses synthetic fill that holds warmth even if it gets damp, and packs into a stuff sack small enough for any hiking pack. With more than 16,500 ratings and a current price well under $30, it's the starting point for any serious cold-weather sleeping system.
Amazon Check Today's Price on Amazon →