The first time I tried to cook a real meal at a backcountry camp, I dragged in a two-burner propane stove that weighed more than my sleeping bag. I cooked a decent dinner, sure. I also woke up the next morning with a sore back from the extra pack weight and a clear sense that I'd overcomplicated the whole thing. I've been chasing lighter and simpler ever since. After a lot of trail miles and a lot of testing, I landed on a system that works: one compact backpacking stove, one pot, and a menu built around what actually heats up fast in the backcountry. The AOTU backpacking stove has been part of that system for a while now. It's small, it lights every time, and it cost less than a fast-food meal. That's the whole sales pitch. Here's the method.
Whether you're fishing high lakes, hunting elk at elevation, or doing weekend overnights with a light pack, hot food matters more than most people admit. It lifts morale at the end of a long day, it refuels muscles, and in cold weather it's part of staying warm enough to sleep well. The mistake most new backpackers make is thinking they have to choose between eating well and keeping pack weight down. You don't. You just have to be intentional about it. These five steps will get you there.
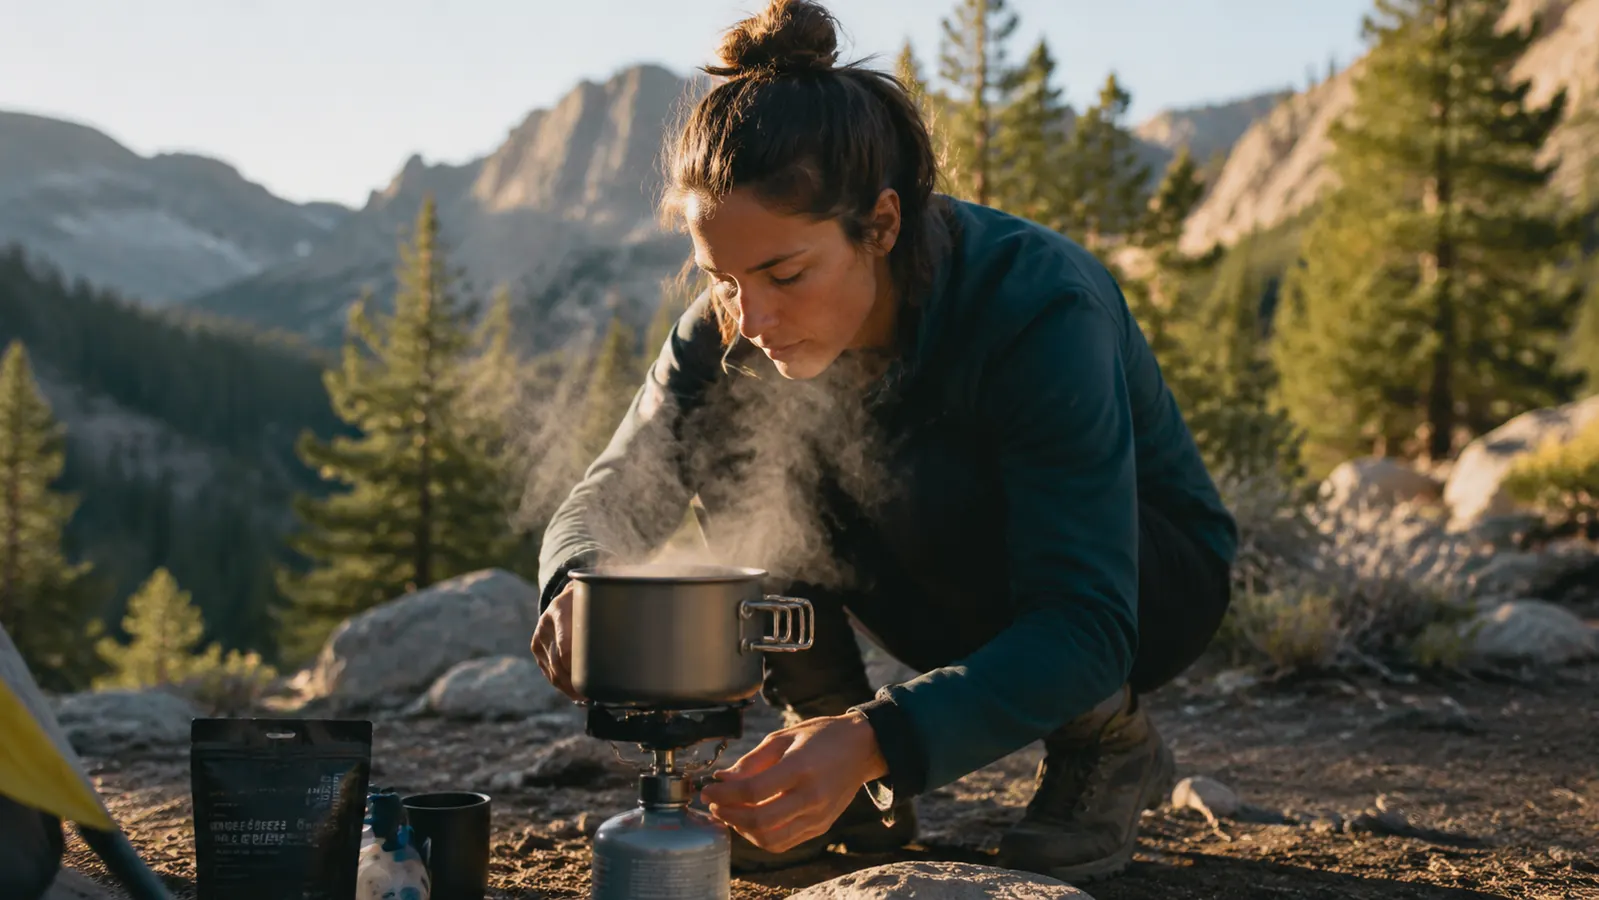
Cold trail meals are a misery you don't have to accept. One stove changes everything.
The AOTU backpacking stove weighs 3 oz, fits inside a standard cook pot, and runs on any isobutane-propane canister. Rated 4.6 stars across 6,500+ trips. Check today's price before heading out.
Amazon Check Today's Price on Amazon →Step 1: Choose the Right Stove for Backpacking Conditions
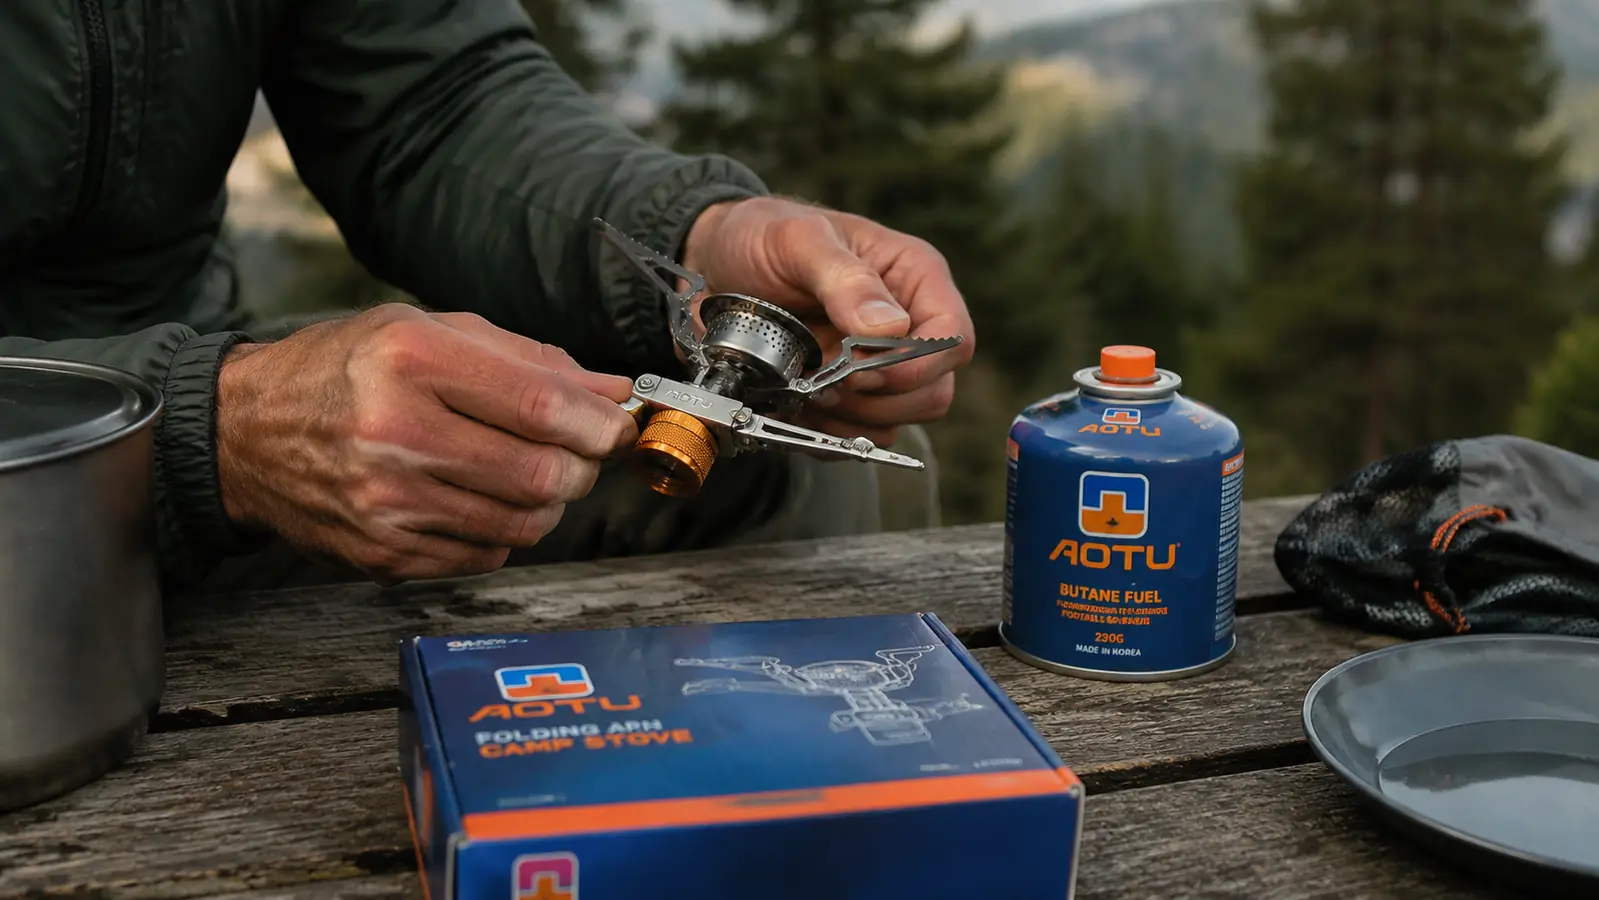
Not every stove belongs in a backpacking kit. A two-burner car camping stove doesn't go in a pack. A wood-burning backpacking stove requires dry fuel, which you may not have in wet weather or above treeline. Alcohol stoves are light but slow and wind-sensitive. What works: a compact canister-top stove with a piezo igniter and folding pot supports. That's exactly what the AOTU stove is. The burner head is small enough to sit inside a 750ml cook pot, the folding arms lock open and support a pot securely, and the piezo lighter starts it without a match. I've used it in rain, at altitude, and in single-digit morning temperatures. It starts.
The canister system (isobutane-propane mix) is the most practical for most backpacking trips. You can buy canisters at any REI or outdoor shop, the burn is consistent, and you're not fiddling with a pump or a priming ritual. The one real tradeoff: in very cold temps, canister pressure drops and you get a weaker flame. If you're camping below about 20 degrees F consistently, pre-warm the canister in your sleeping bag before cooking. That's a one-minute fix, not a dealbreaker. For the full gear breakdown and durability notes, check out the AOTU stove long-term review.
Stove weight matters when you're counting ounces. The AOTU burner head runs about 3 oz. A 100g canister adds another 3.5 oz. Your entire heat source for a 3-day trip sits around 6-7 oz total. That is lighter than the water bottle most people throw in without thinking about it.
Step 2: Build a Trail Menu Around Fast-Boil Foods
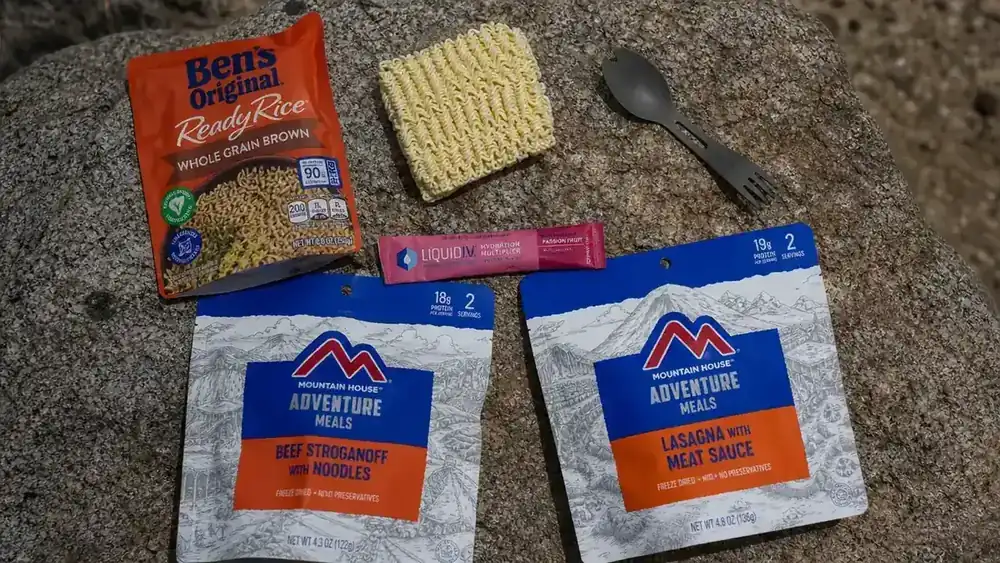
Backpacking cooking is not camp cooking. You are not making a full breakfast spread or smoking ribs over a Dutch oven. You are rehydrating and boiling water. Once you accept that, the menu gets easy and the food actually gets good. The building blocks: instant oatmeal for mornings, ramen or instant mashed potatoes for lunch, freeze-dried meals or instant rice with tuna packets for dinner. All of these require two cups of boiling water and about five minutes. That's your whole cooking window.
Freeze-dried meals are worth the cost on longer trips. The calorie density is high, the sodium replaces what you sweat out, and they genuinely taste decent after a ten-mile day when you're hungry enough to eat anything. On shorter trips or when I'm watching budget, I'll use ramen and add a tuna packet or some olive oil for calories and protein. The key is planning your meals before you leave and measuring out exactly what you need. Dead weight on the trail is the enemy, and it usually comes in the form of food you didn't think through.
Write out every meal before you pack. Add up the calorie counts. Most active backpackers need 2,500 to 3,500 calories a day on trail. If you're short, add high-density snacks, nuts, jerky, energy bars. Those go in a hip belt pocket and require no cooking.
Step 3: Pack Your Cook Kit to Minimize Complexity at Camp
Your entire cook kit should nest inside itself. Here's what I carry: one 750ml or 1L aluminum or titanium pot with a lid, the AOTU stove head packed inside the pot, one isobutane canister (100g for weekend, 230g for 4-plus nights), a long-handled spork, a lighter as backup to the piezo, and a silicone hot glove or pot gripper. That's it. Total weight with canister is under a pound. No plates. No pans. No spatulas.
The lid doubles as a bowl on nights when I'm doing a one-pot meal and don't want to dirty the pot. The long-handled spork reaches the bottom of freeze-dried pouches. The silicone glove weighs half an ounce and saves burned fingers. These are field-proven choices, not gear-influencer wishlist items.
One thing I will say about pot selection: aluminum heats faster, but titanium doesn't hot-spot as badly and holds up longer. If you're going to use this kit for years of trips, the titanium is worth the price step-up. Either way, get a pot with a lid. Boiling water without a lid on a small canister stove wastes fuel and takes twice as long.
Your whole cook kit, stove included, should weigh under a pound. If it doesn't, something in there doesn't belong on a backpacking trip.
Step 4: Set Up Your Stove Correctly Every Time
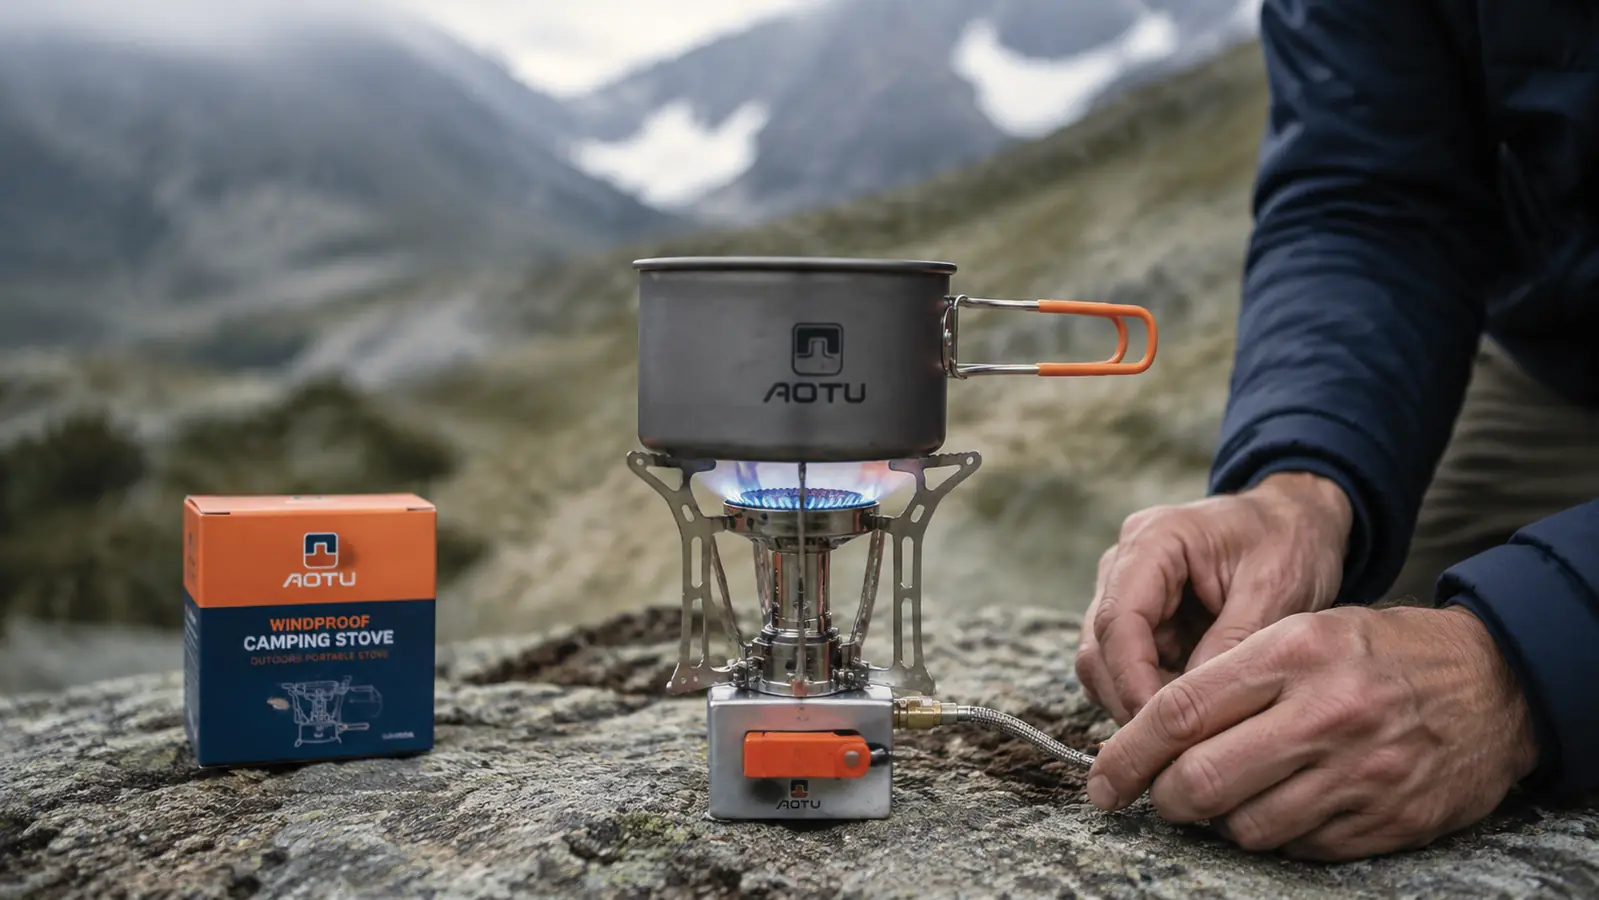
How you set up the stove matters more than most people think. Find a flat, stable surface. Rocks work. A dirt patch works. Avoid grass in dry conditions, stay aware of fire risk, and never cook inside a tent or vestibule. The AOTU burner screws onto the canister valve clockwise until snug, not overtight. Open the valve a quarter turn, hit the piezo. It lights immediately in calm conditions. In wind, block the stove with your body or a pack and cup your hands around it to protect the flame during startup.
Once lit, the flame control knob on the AOTU gives you a real range from a high boil to a low simmer. Most trail food only needs a hard boil to rehydrate properly, so you'll use high for most of a cook and then kill it. For things like instant oatmeal or hot chocolate where scorching is a risk, drop it to low after the water boils, add your food, and stir. One minute on low is usually enough.
Always leave the canister upright on level ground. A tipped canister can cause inconsistent burn and in rare cases forces liquid fuel through the valve instead of vapor, which produces a large flame. It's not dangerous if you catch it fast, but it's also easily avoided by just keeping the canister level.
Step 5: Manage Fuel, Water, and Cleanup to Stay Efficient
Fuel management is something most beginners get wrong exactly once. A 100g isobutane canister is rated at roughly 22,000 BTU. A standard boil on a backpacking stove uses about 400-500 BTU per cup of water. If you boil 2 cups for every meal and hot drink, a 100g canister gets you through 3 to 4 days of cooking, with margin. On longer trips I'll bring a 230g canister, which easily covers a week of hard cooking. Never try to push a canister to empty on a trip you depend on it for. If it feels light before the last night, burn conservative.
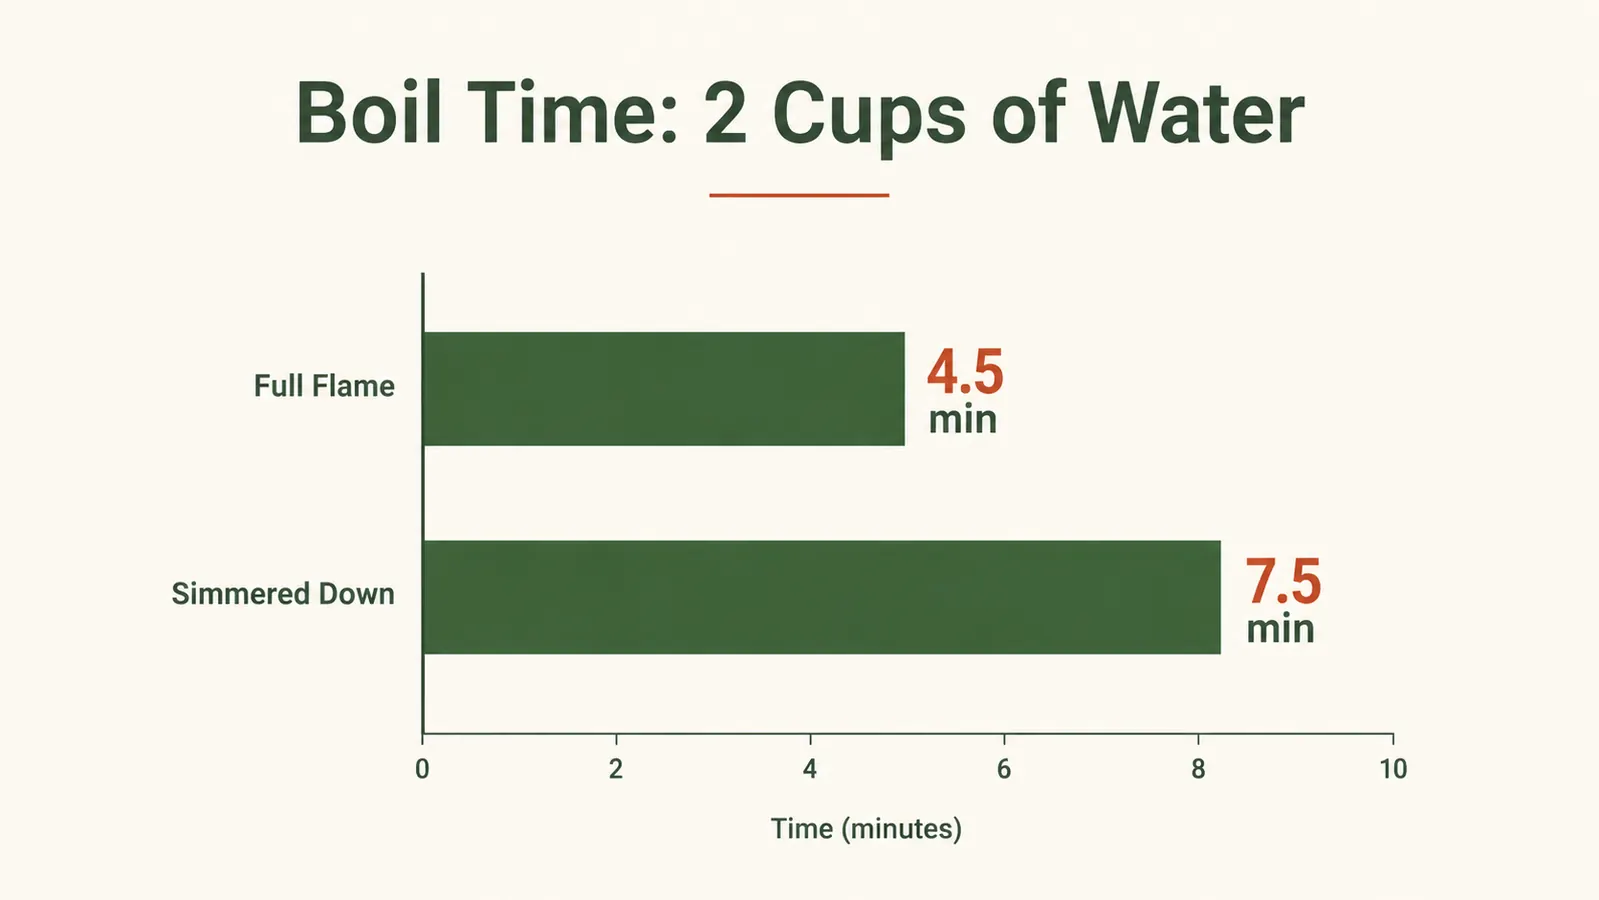
Water sourcing is the other half of the equation. You need clean water before you can boil it. A filter like a Sawyer Squeeze handles that. Once filtered, your boil time on the AOTU stove from a dead cold start is about 4 to 5 minutes for 2 cups at full flame at lower elevation. Add a minute or so per 2,000 feet of altitude. That's consistent enough to plan around.
Cleanup is simple because your cook kit is simple. Pour a small amount of warm water in the pot after eating, swish and dump 200 feet from water sources and camp. A biodegradable soap option like Dr. Bronner's cuts grease if you're cooking anything oily. In bear country, keep your food bag, cook kit, and trash together in your hang or bear canister. The fewer smells near your sleeping area, the better. For more on building out a full cook kit strategy, the honest review of the AOTU stove goes into more detail on real-trip fuel burn and cleanup.
What Else Helps
Stove selection and meal planning are the foundation, but a few extras make backcountry cooking noticeably better. A windscreen sized for a canister stove cuts fuel use significantly in exposed camps. You can buy a dedicated one or improvise with folded foil from home. A small cutting board, even a flexible plastic one, is worth having if you're adding anything fresh in the first day or two of a trip. And a headlamp frees your hands during evening cooking when the light goes fast. If that's your next gear gap to close, the case for a dedicated backpacking stove also covers the broader kit argument.
Altitude changes everything about cooking time and fuel consumption. Water boils at about 203 degrees F at 10,000 feet instead of 212 at sea level. That means freeze-dried meals need longer rehydration time and pasta and rice cook much slower. If you're hunting or fishing in high country, either pre-cook starchy foods at home and eat them cold, or switch entirely to foods that rehydrate rather than cook. Freeze-dried meals were designed for exactly this.
Finally, practice at home before your first real trip. Run the stove in your backyard. Time a boil. Get comfortable with the valve and the flame knob. The first time you use a new stove should not be in the dark at 9,000 feet when you're cold and hungry. Know your gear before you need it.
If you're still eating cold food on the trail, you're making a hard day harder than it has to be.
The AOTU stove weighs 3 oz, starts reliably in cold and wind, and runs all weekend on a single small canister. Over 6,500 backpackers have it in their kit. Check today's price and get it into yours.
Amazon Check Today's Price on Amazon →